Amazing portraits with minimal gear

More often than not, I get asked "how did you do that?". Well, here is a cool trick I've learned from a few professional photographers. When photographing your subject, try using a 50% gray paper or cloth background. Doing this allows you to have some incredible background options when it comes to the post processing of your images.
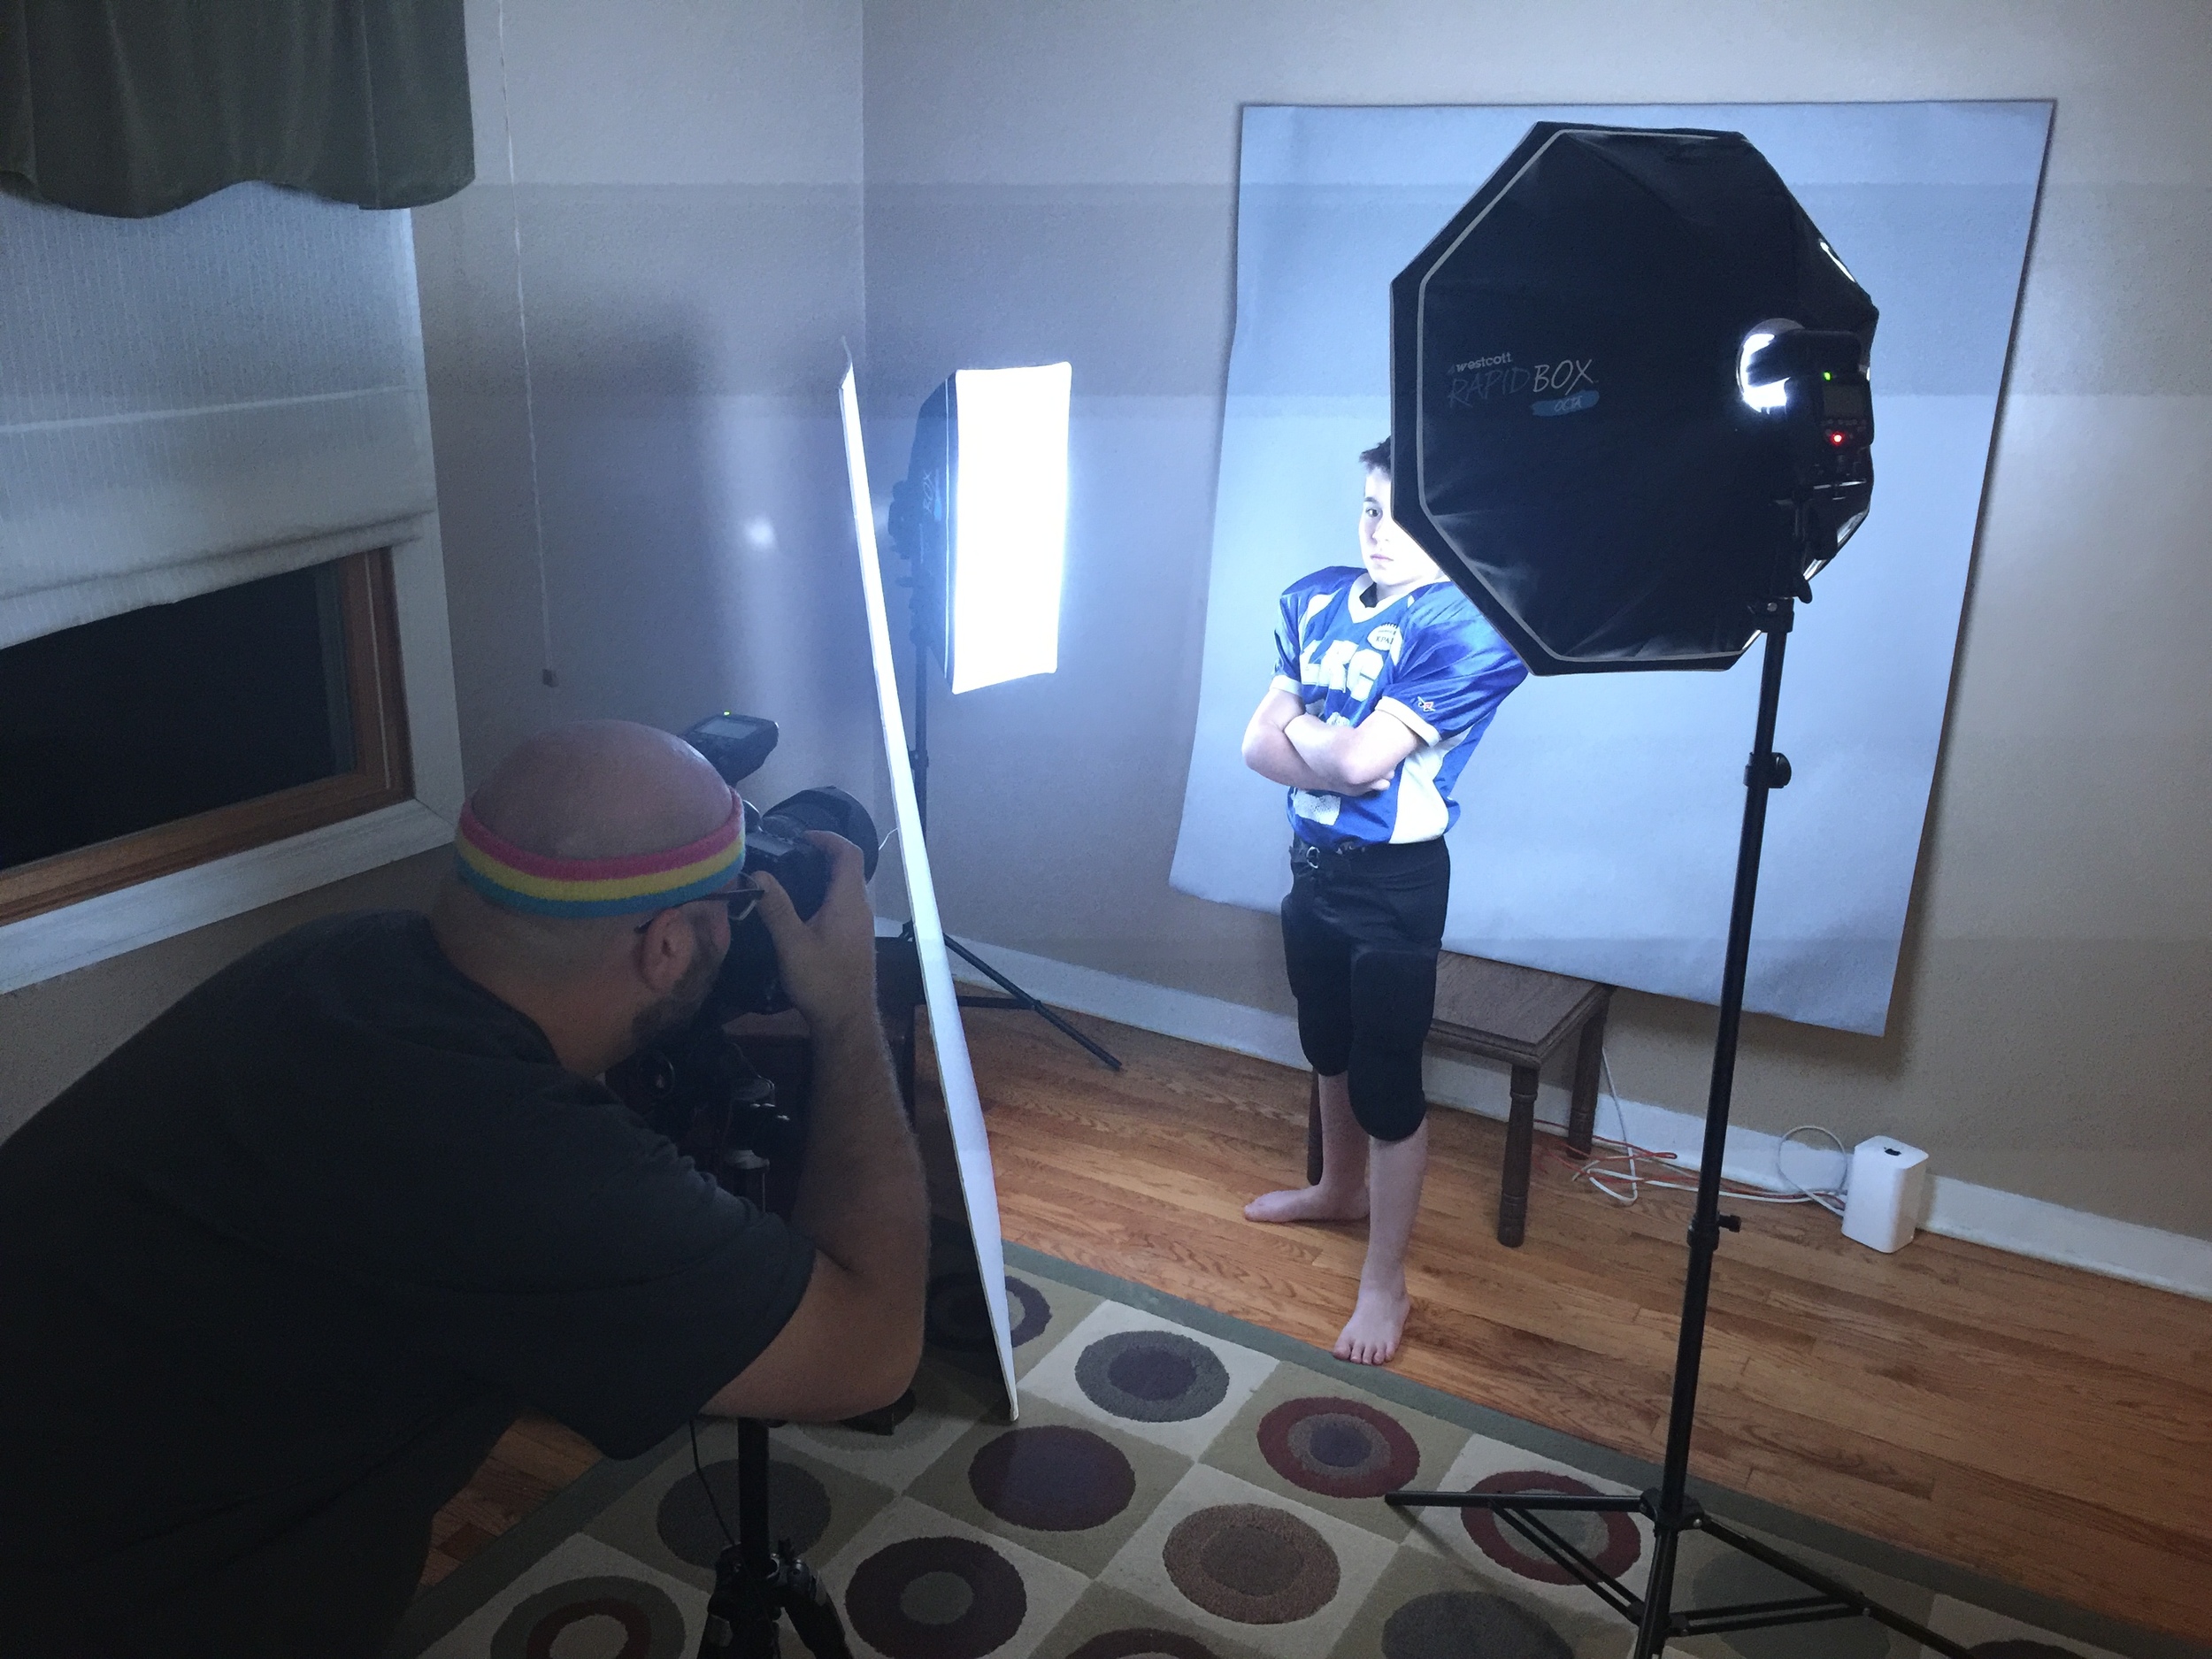
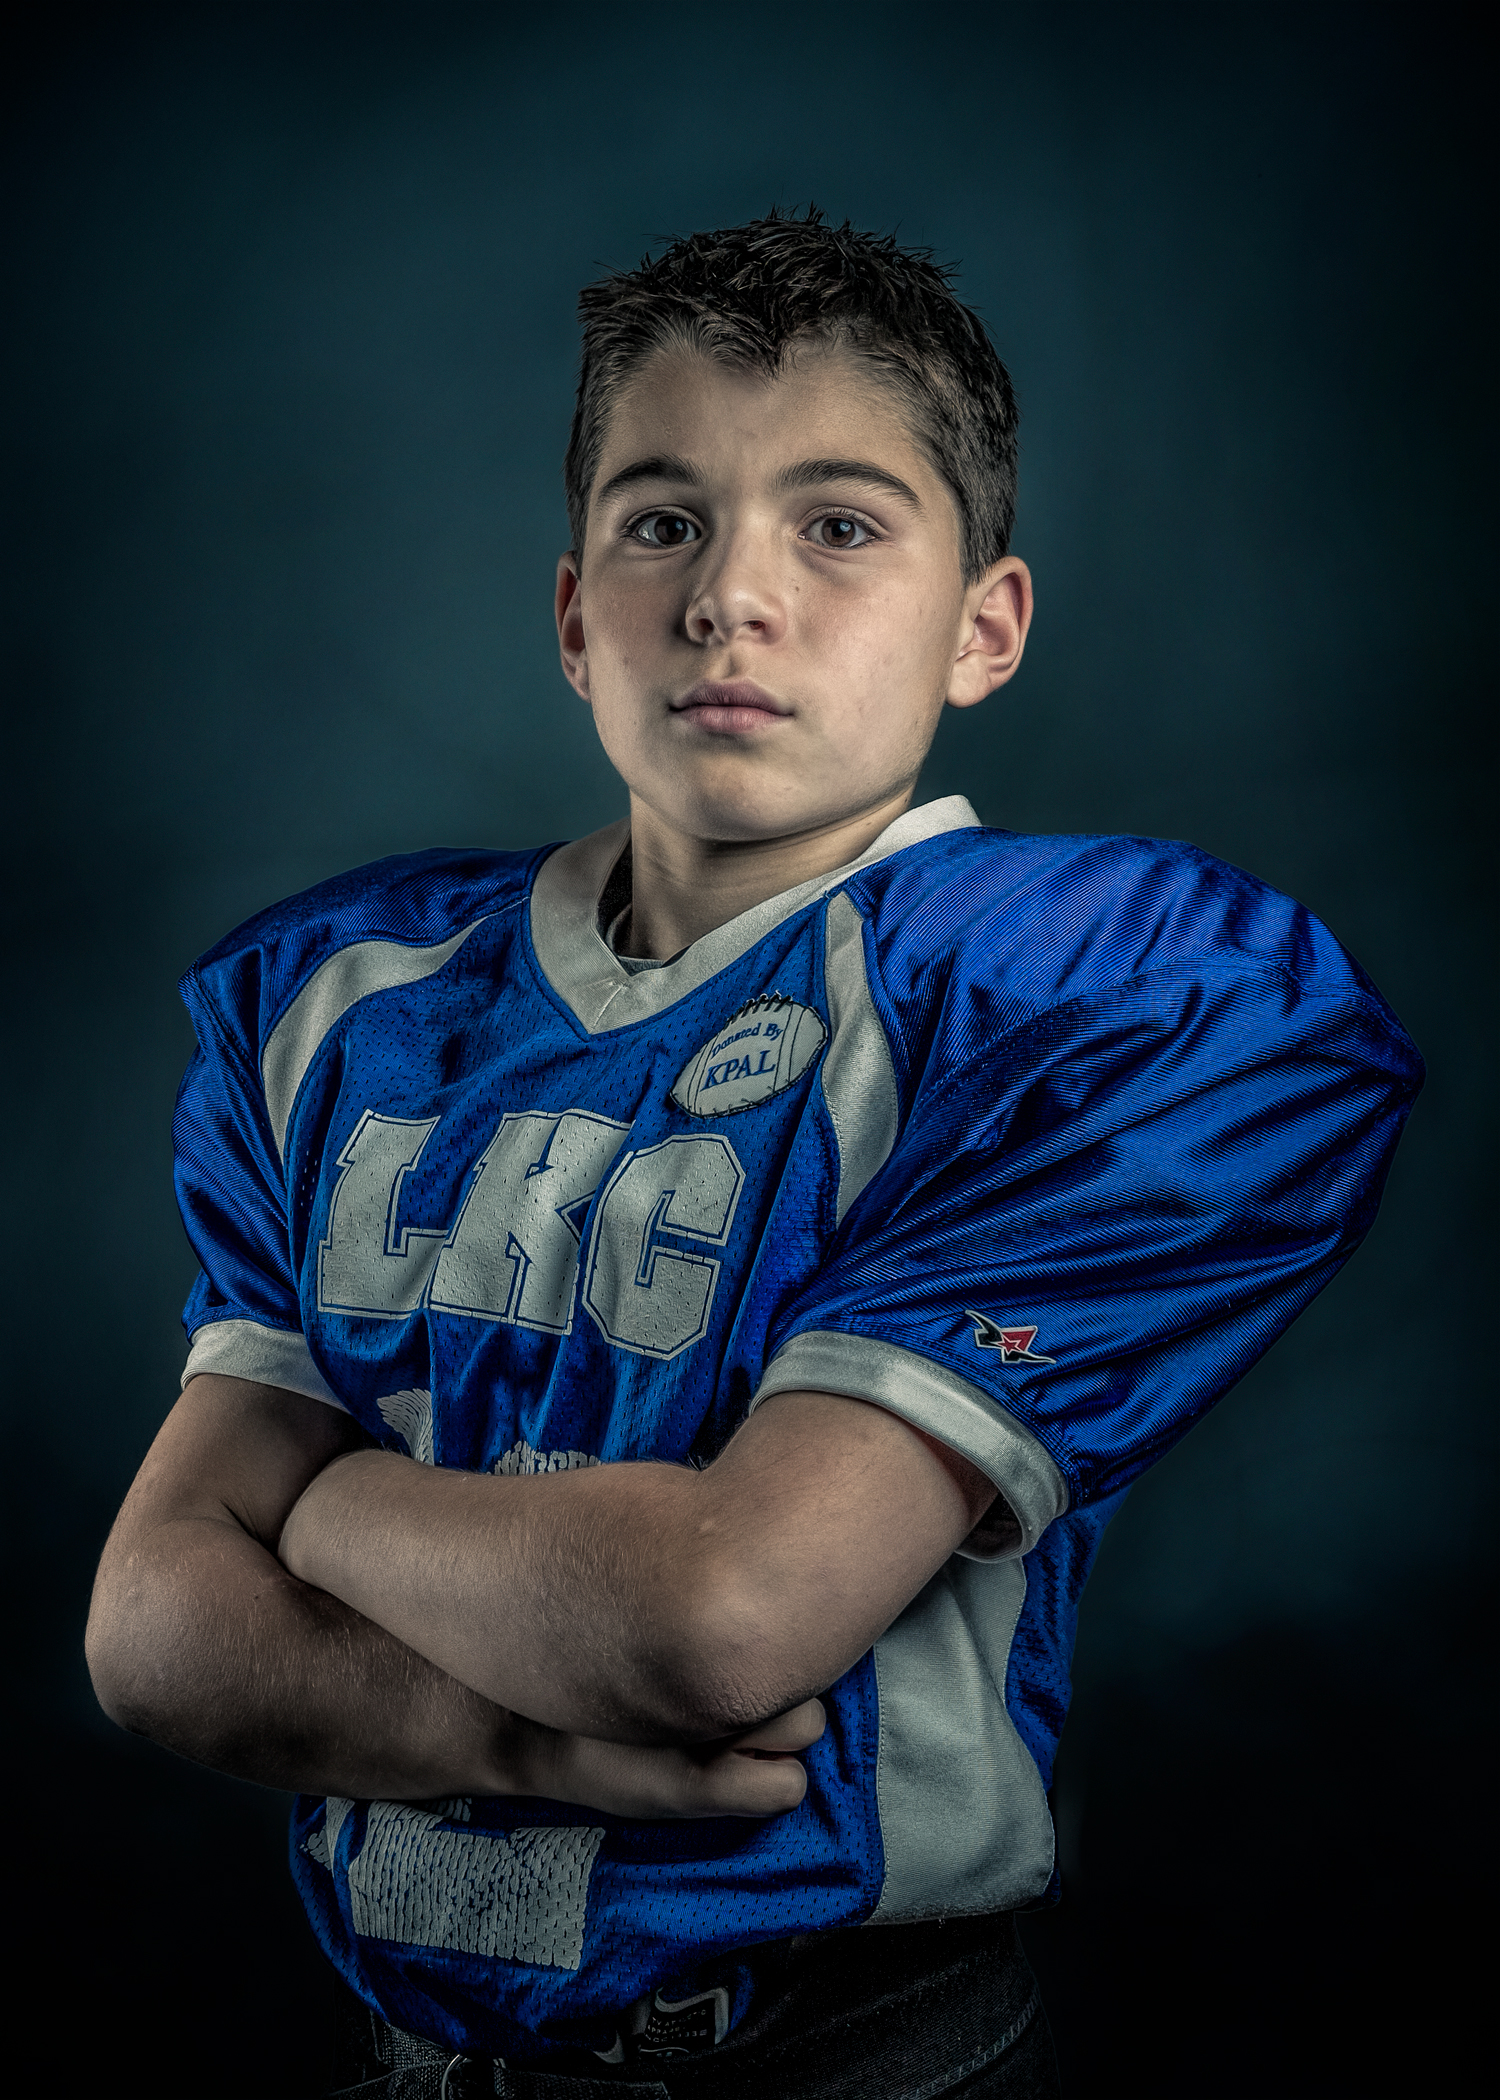
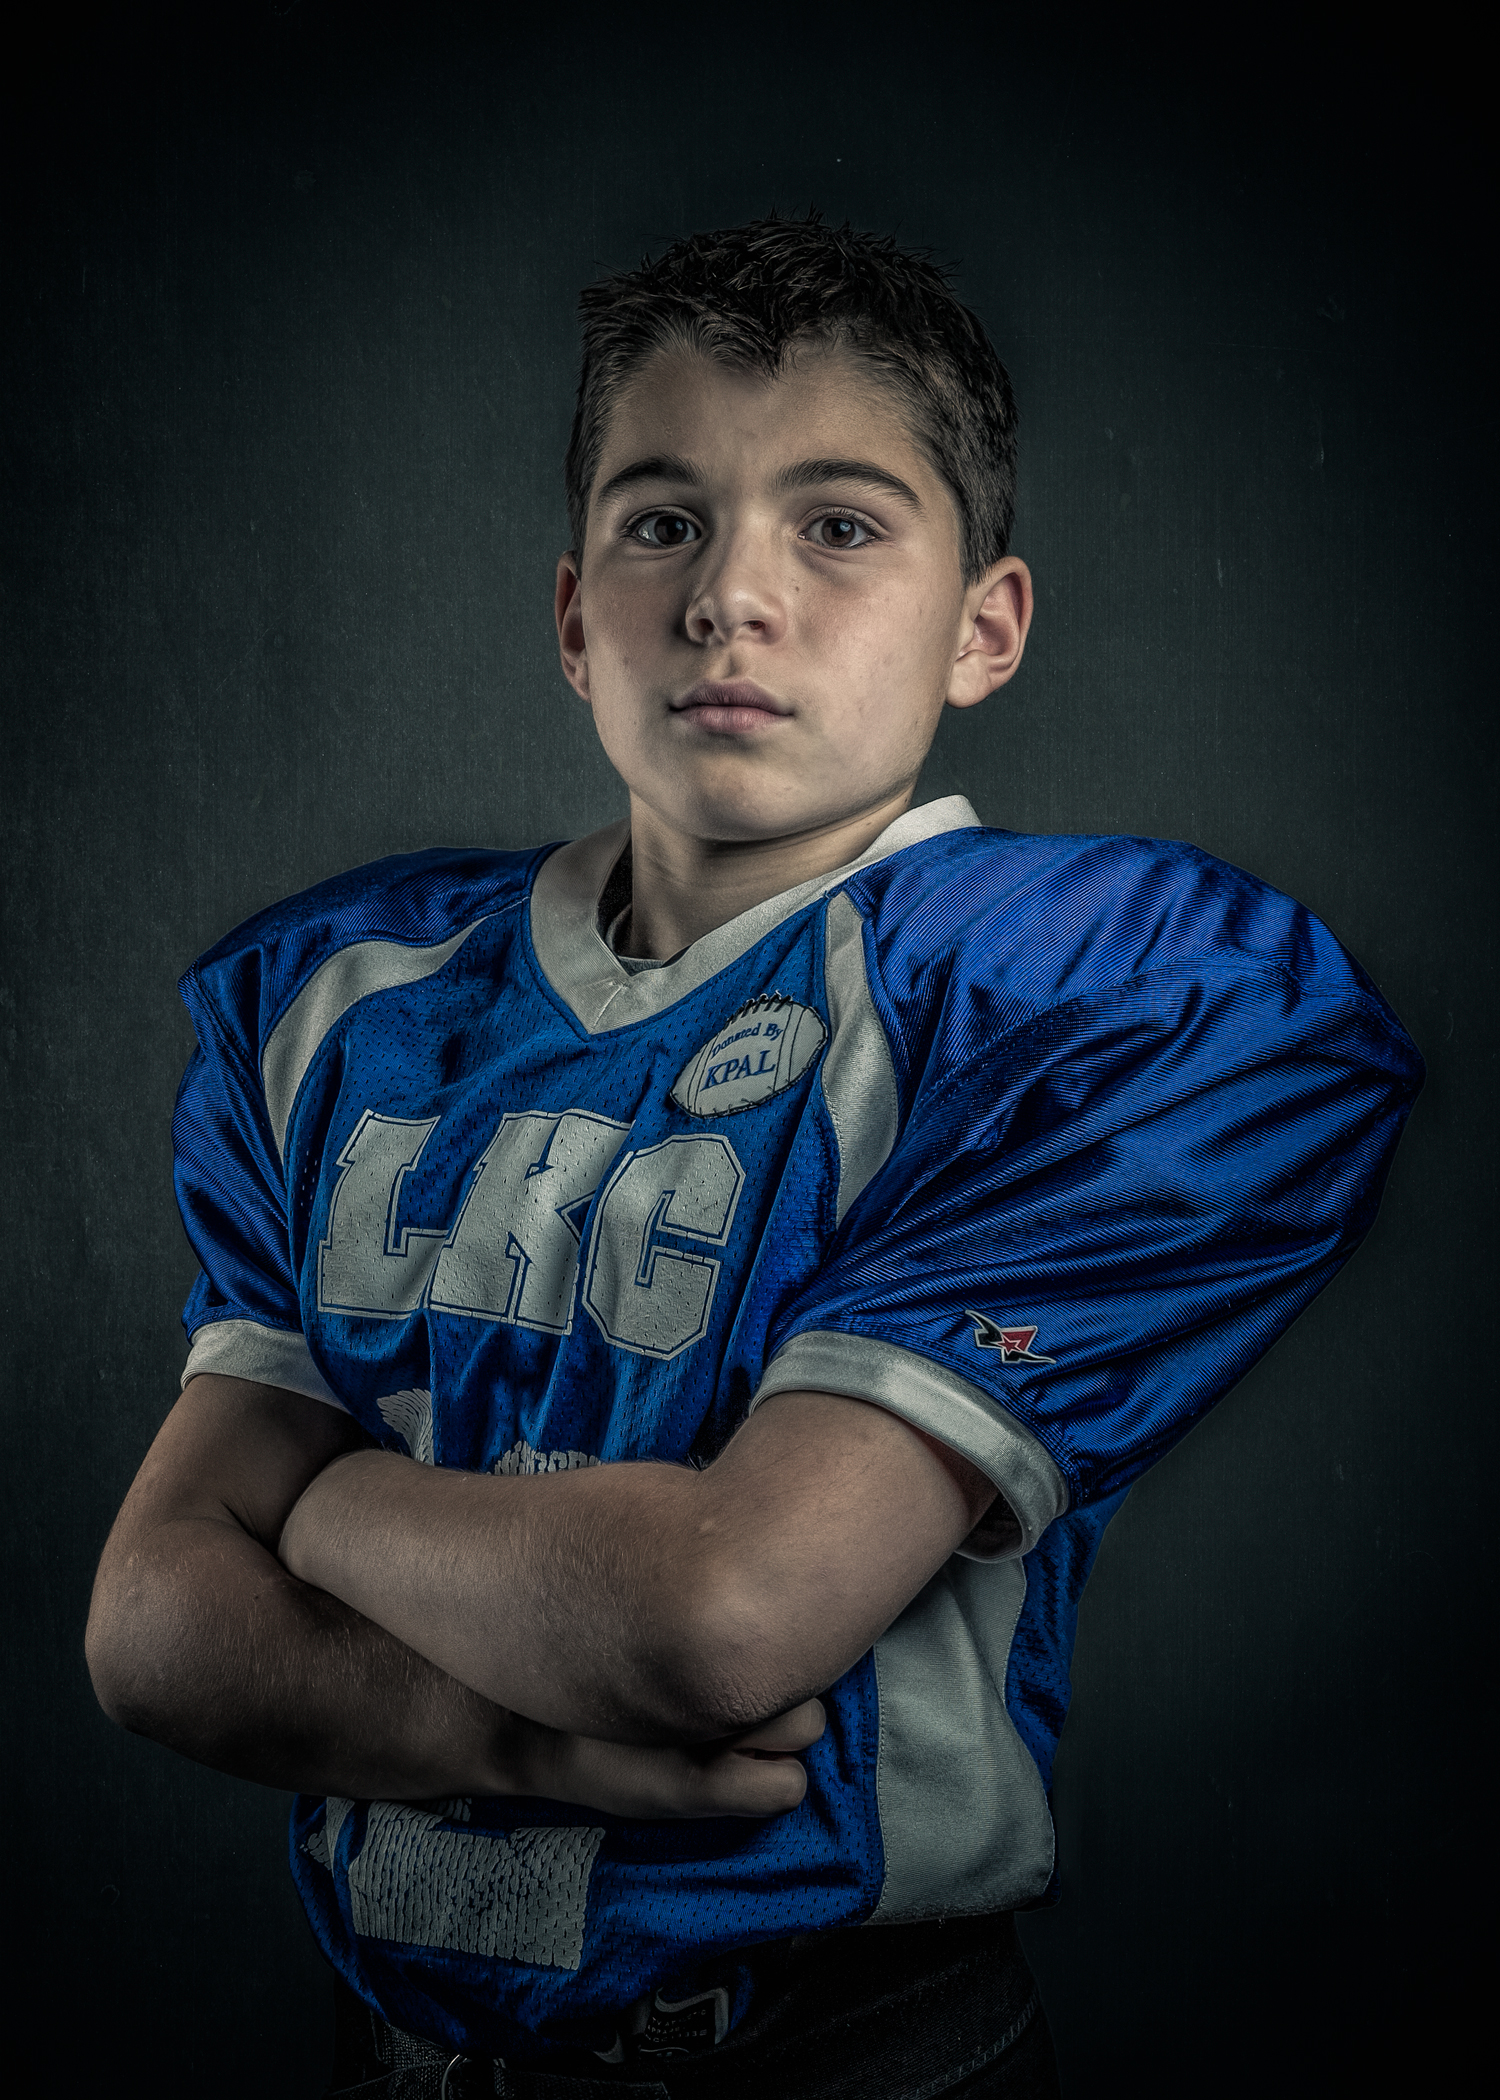
I am sharing a recent project I did at my home with a cheap gray paper background, 2 canon 600EX speedlites, Westscott Rapid Box light modifiers and the Canon 5D Mark III camera body with the 24-70mm F/2.8. My 10 year old son (Jayden) who just finished his first year of tackle football has been begging me to do some pictures of him with his pads. So, of course I said yes. I wanted to do something edgy, but not having a studio can be a set back at times, so I decided to use the gray background technique. Jayden got on his pads, I setup my camera, and away we went. Jayden is a real character, so we had an awesome time. My camera settings were F/11, 160/sec, and ISO 100.
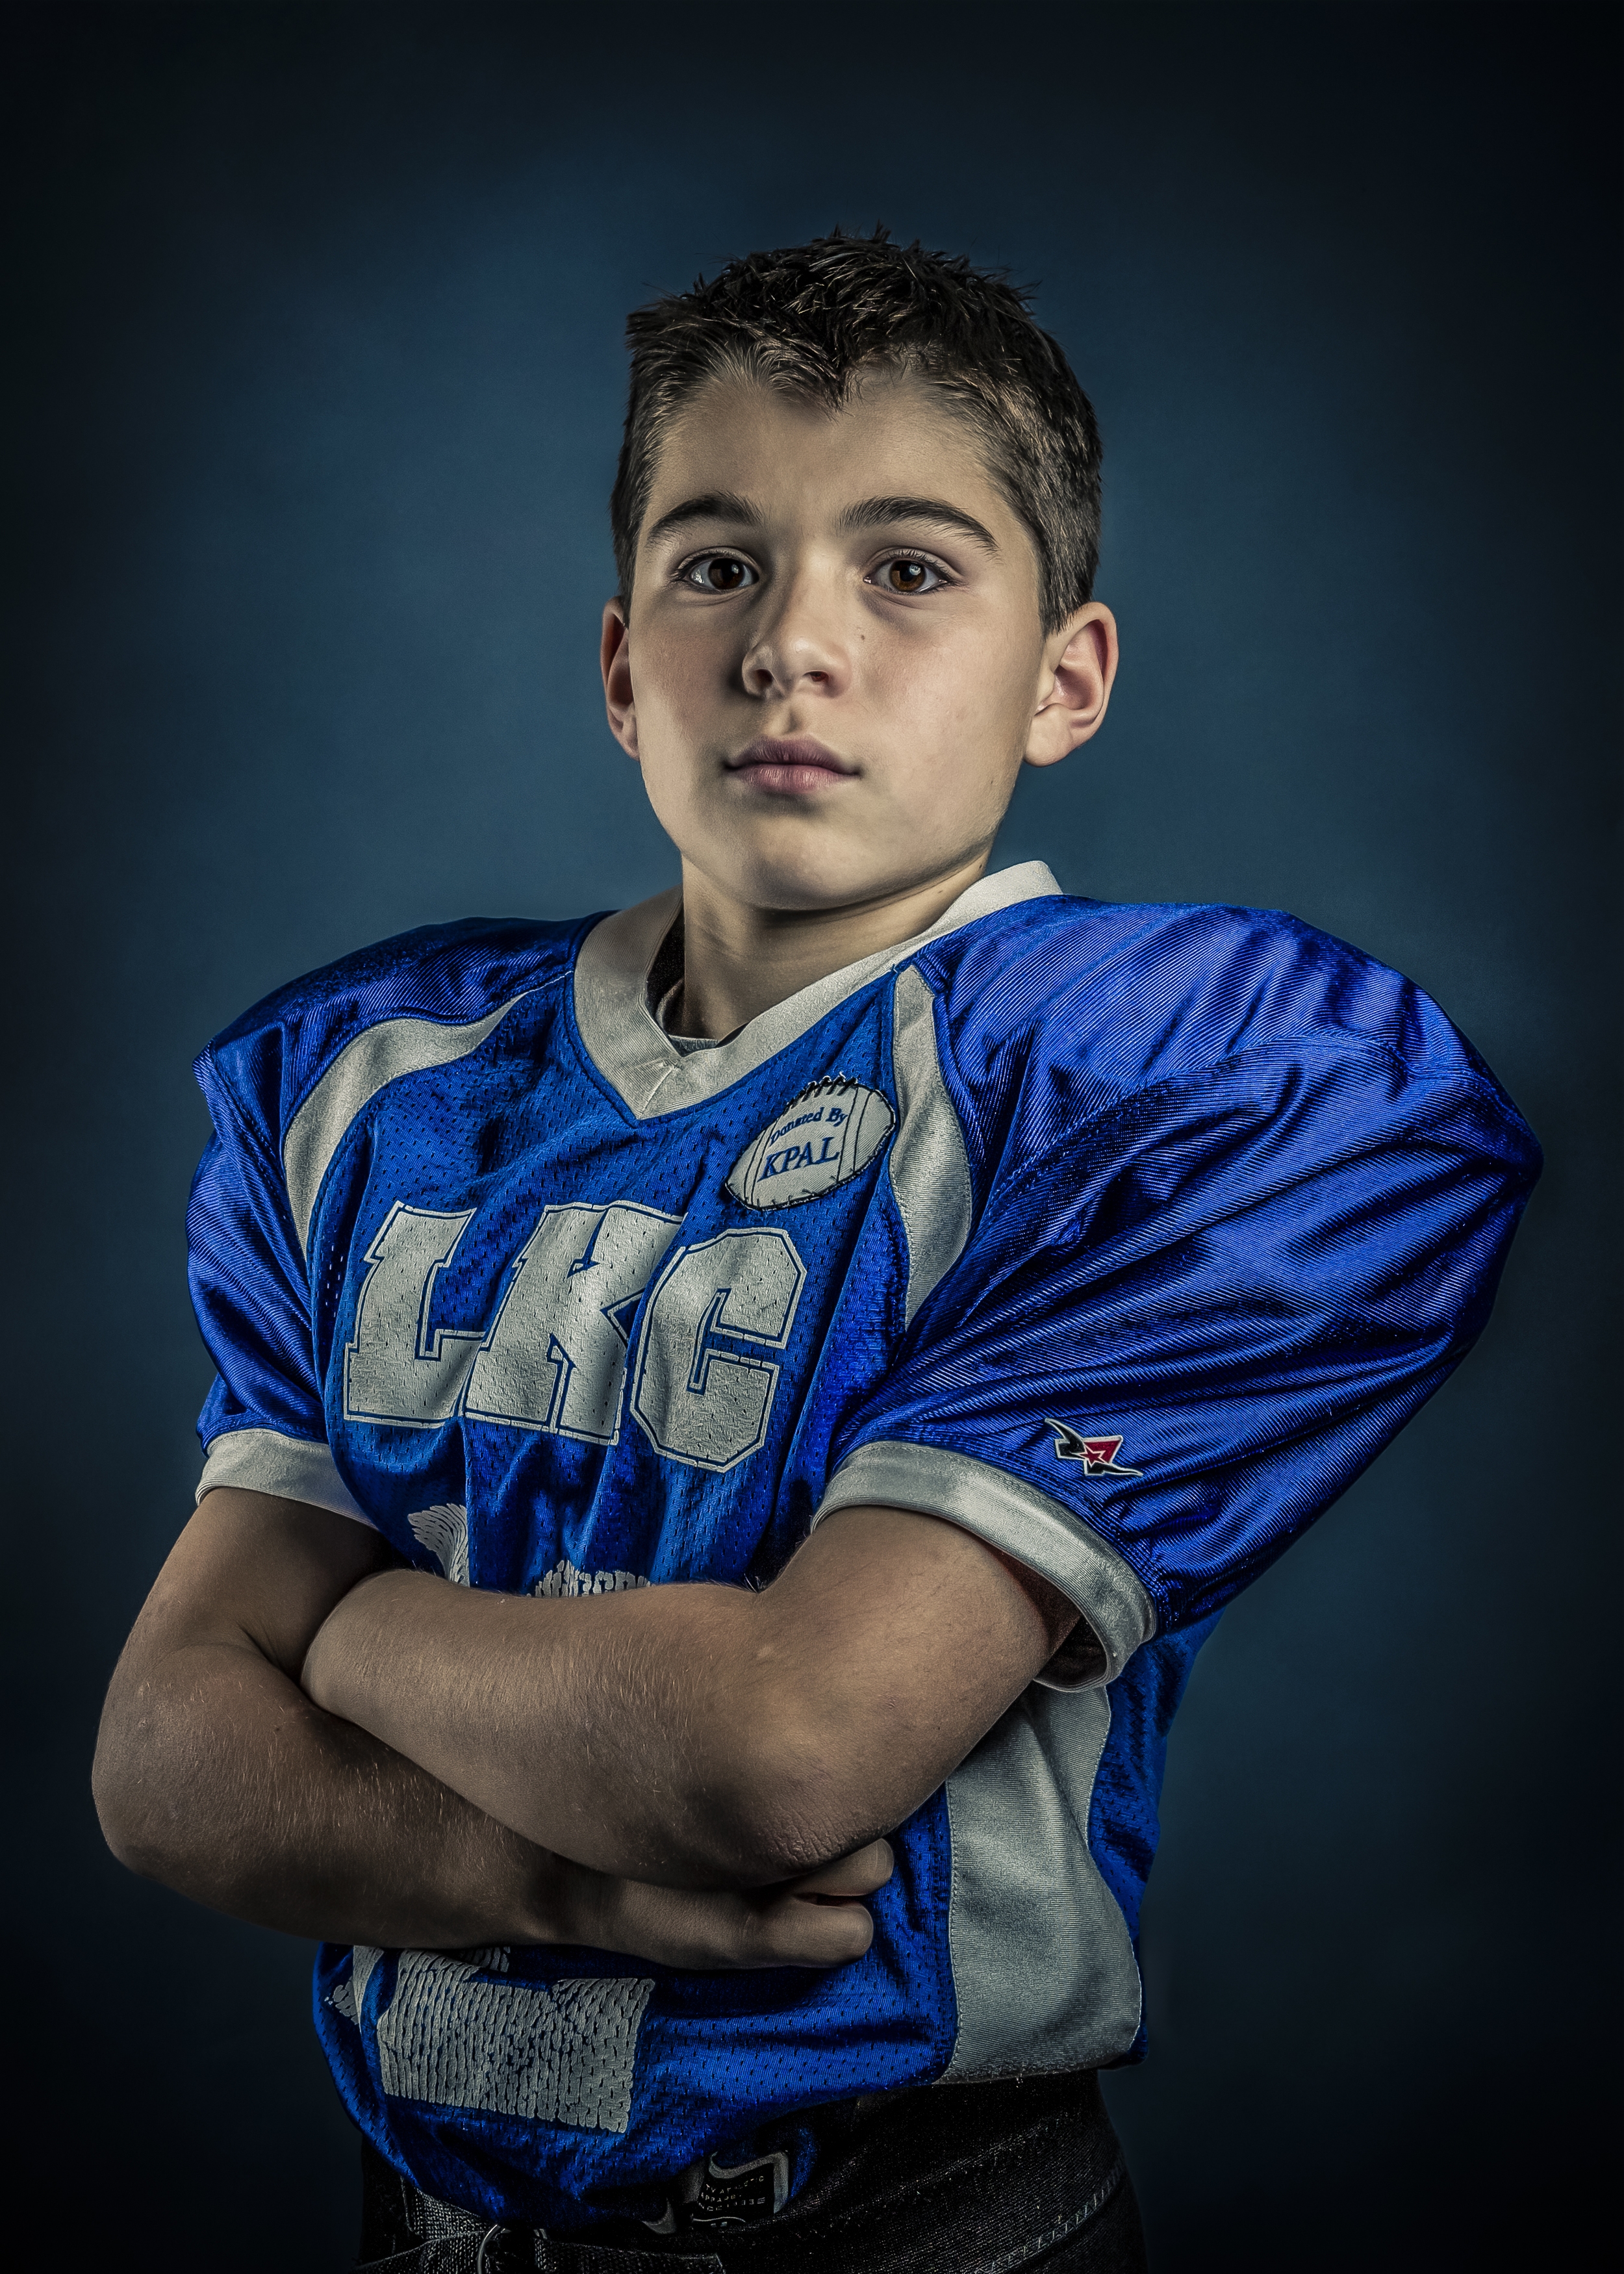
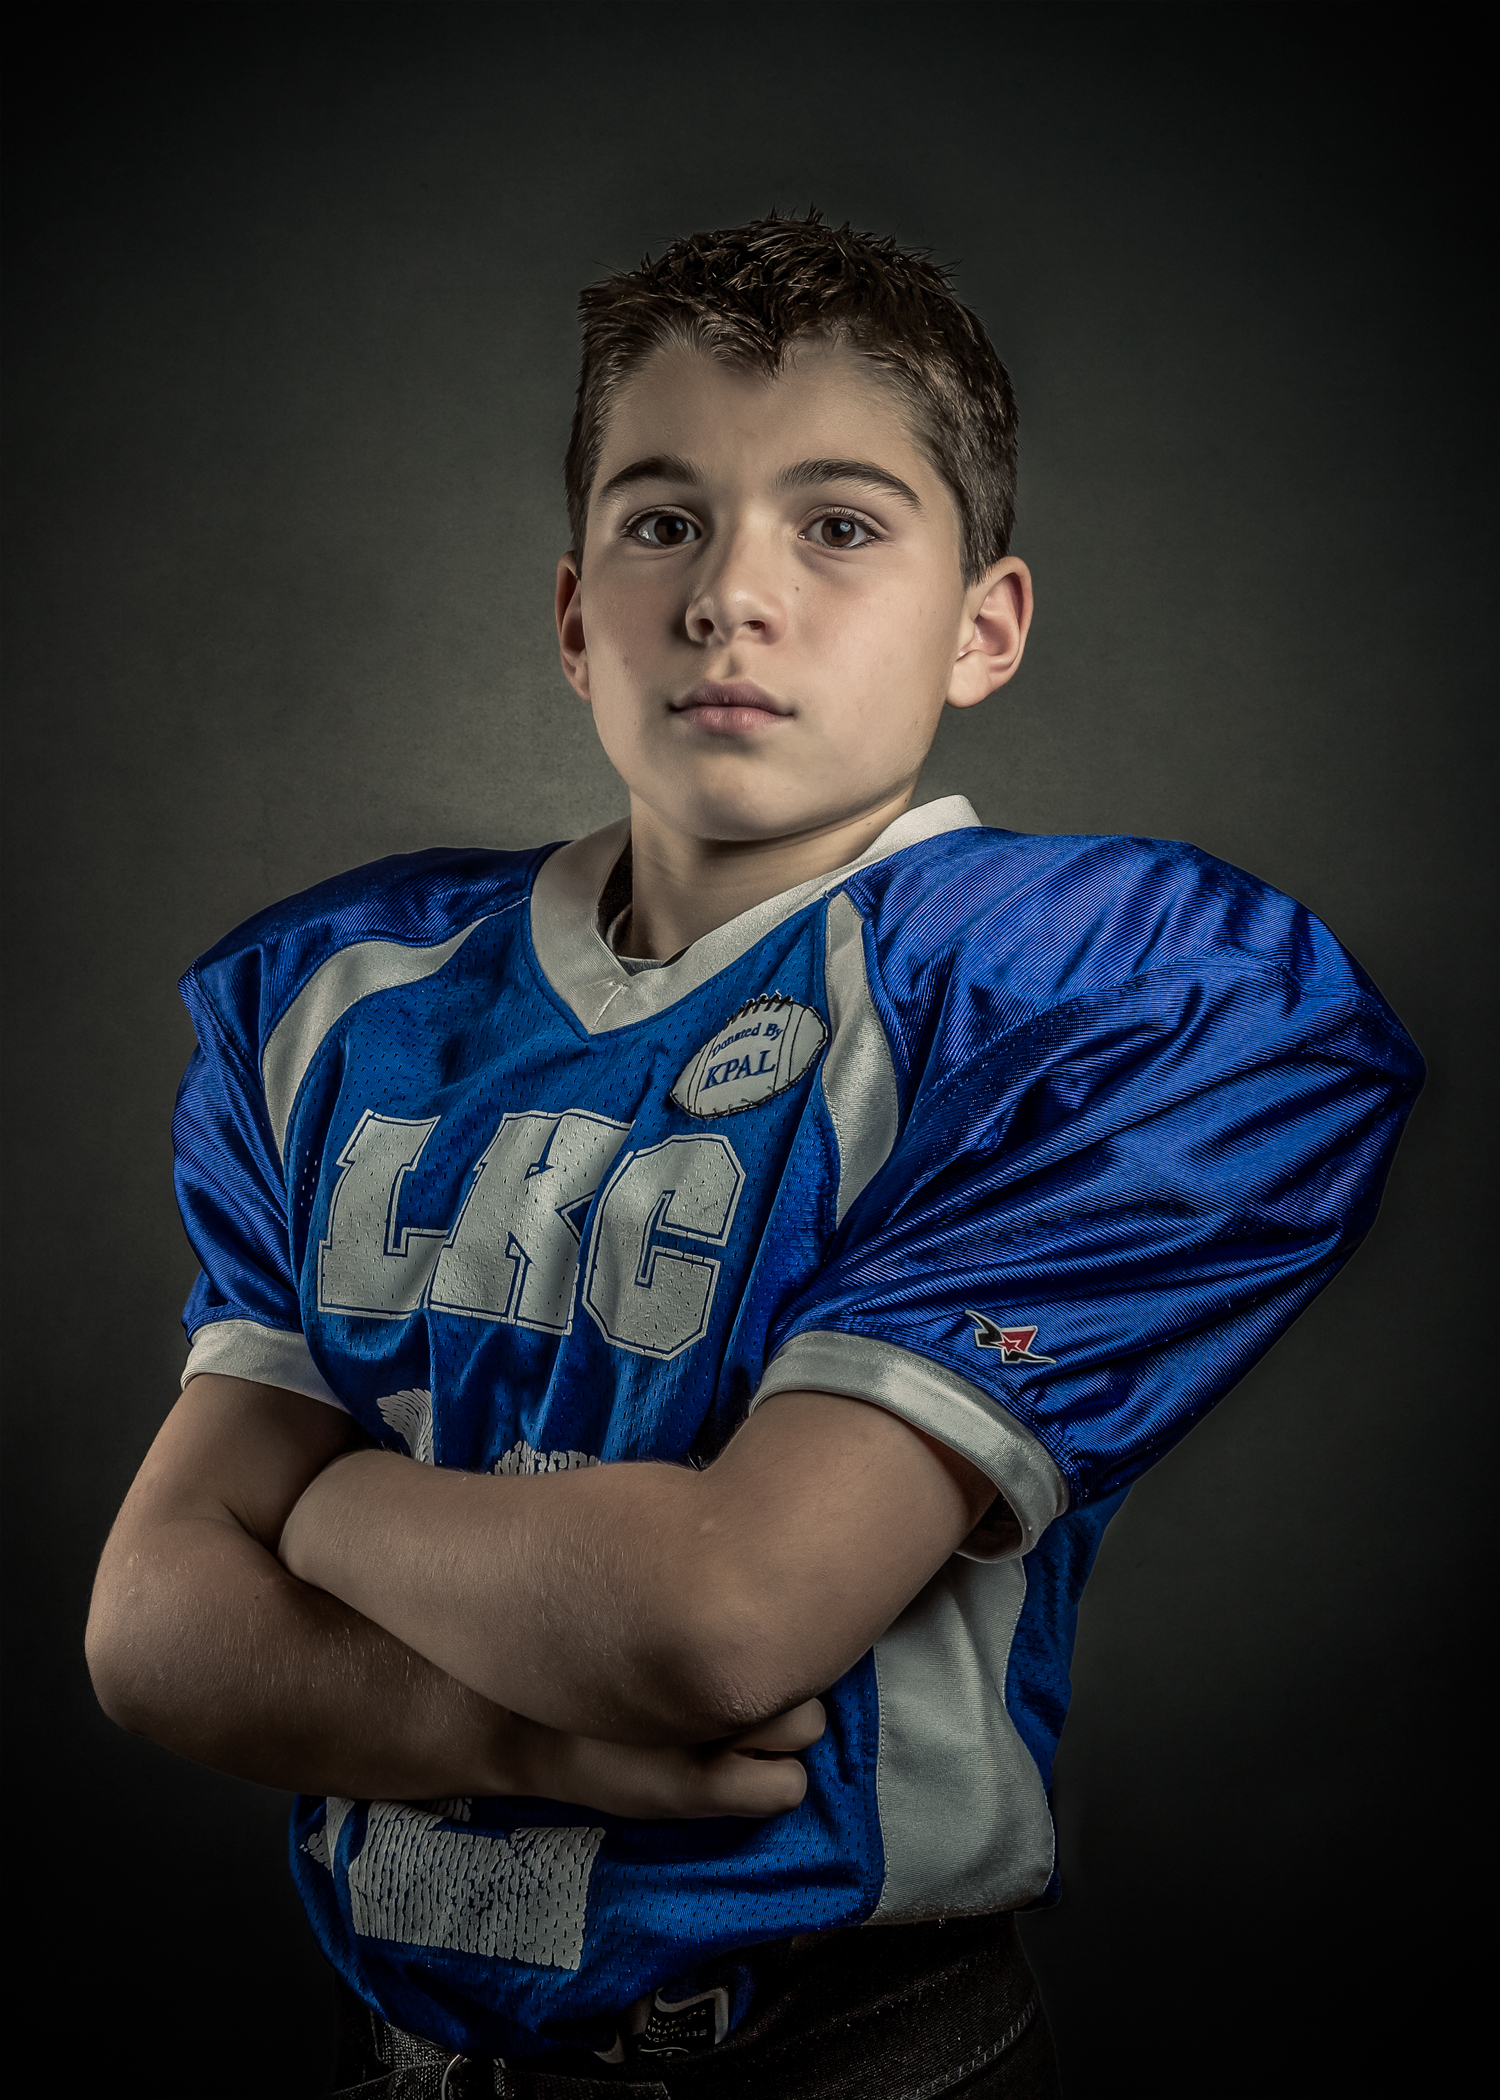
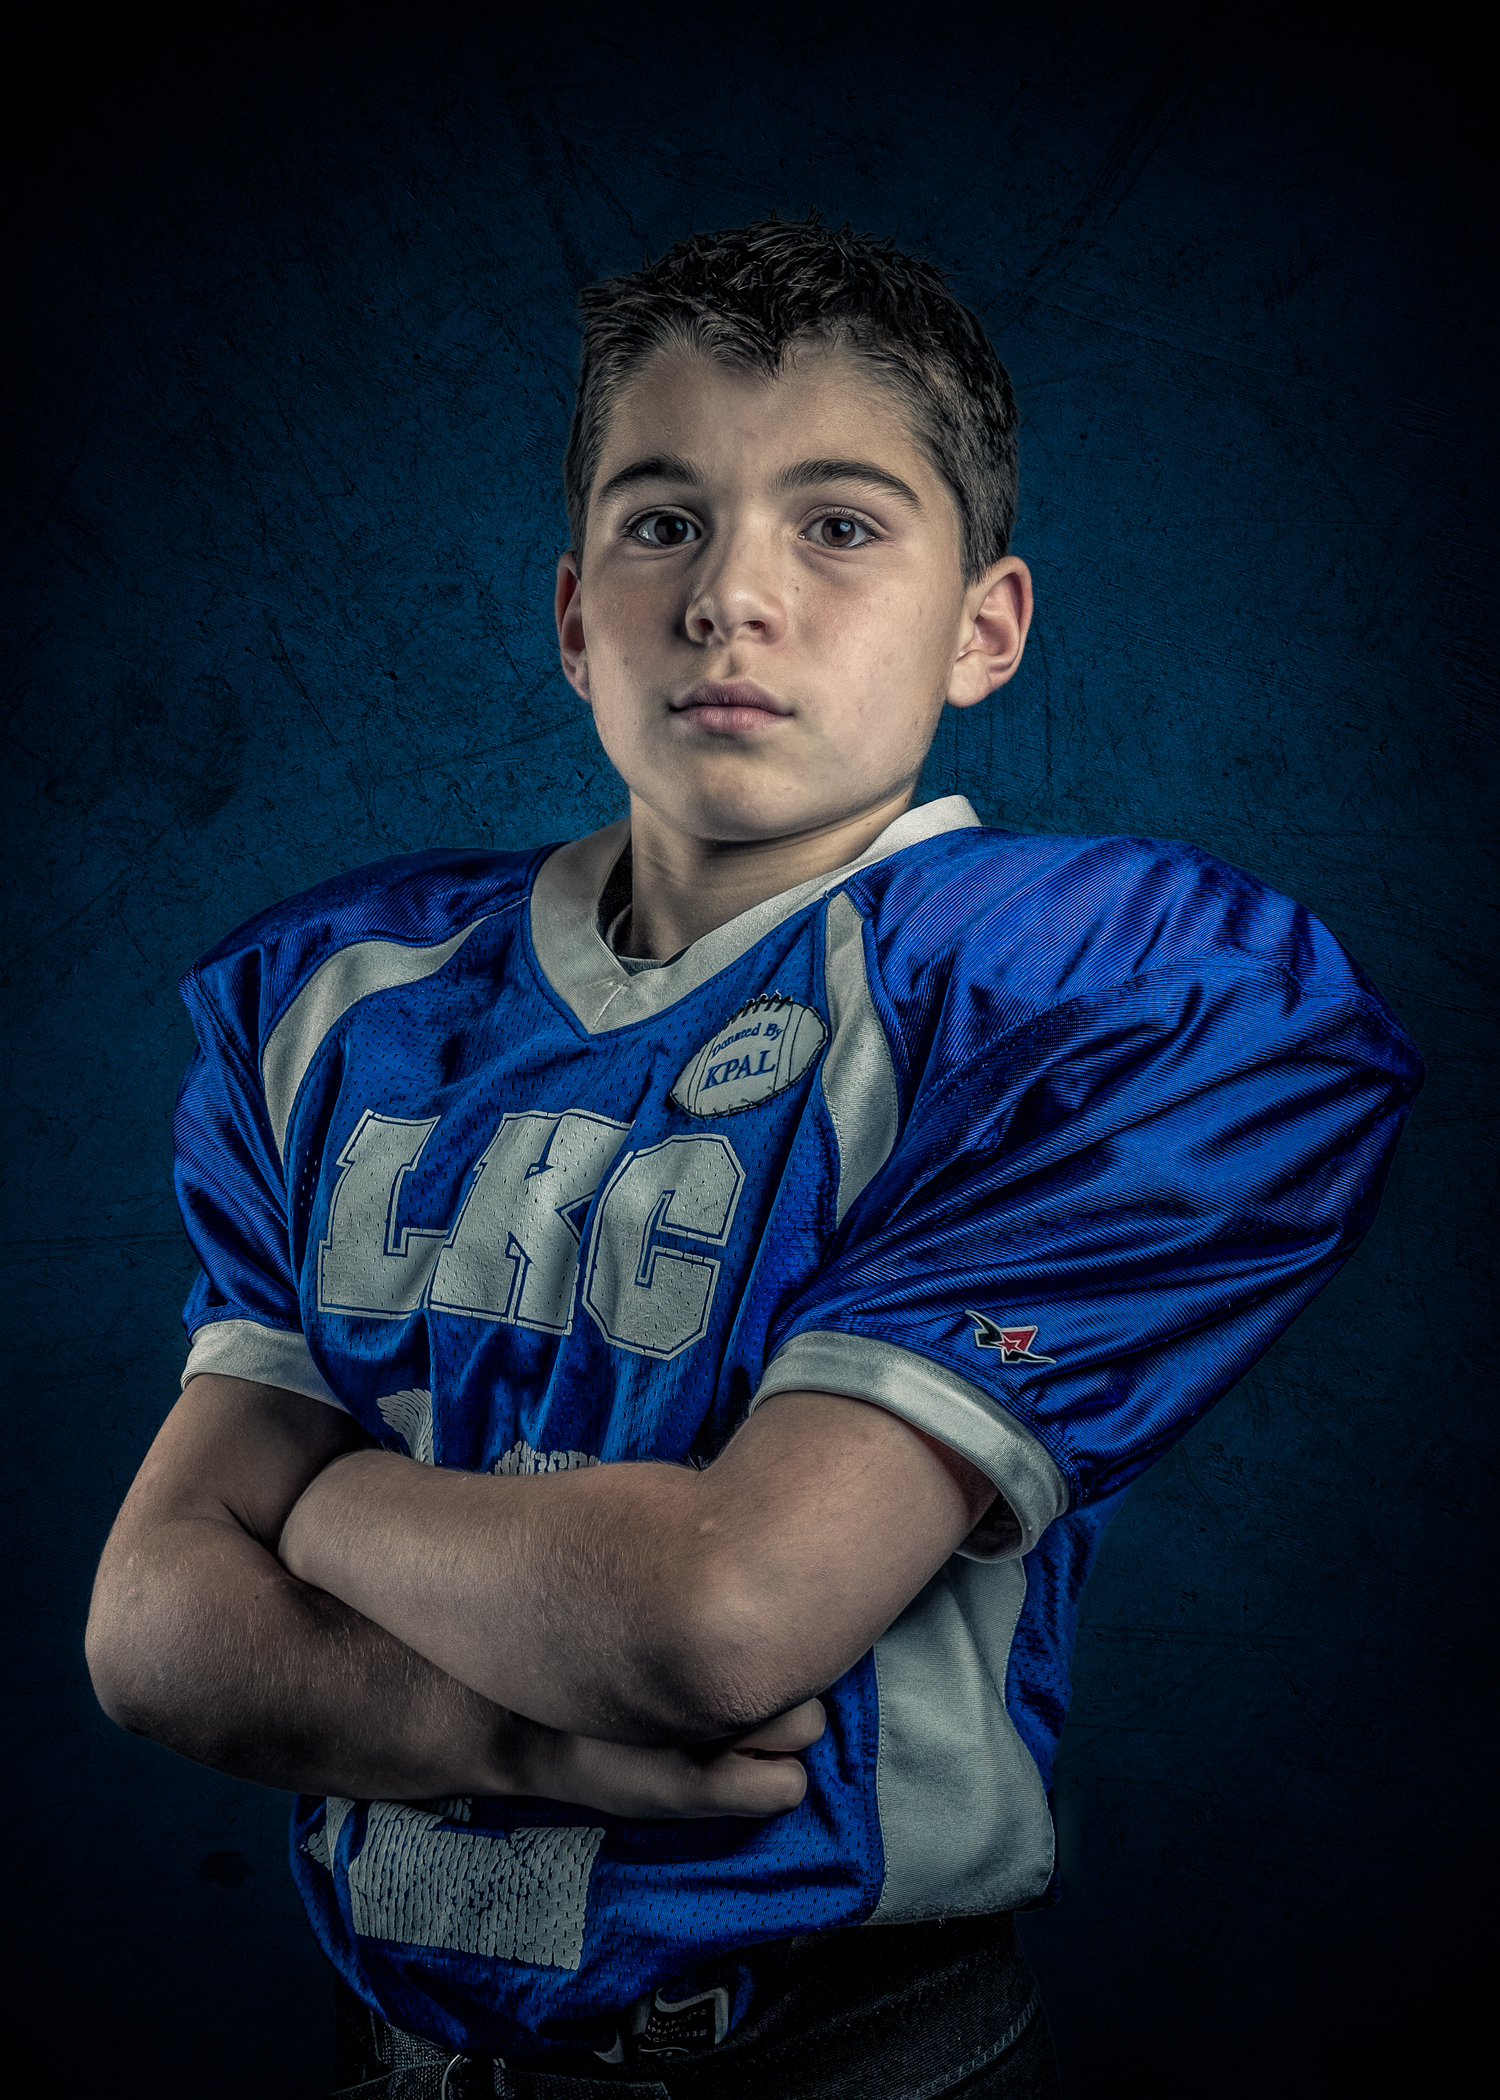
Once the shoot was over it was now time for the post processing. I imported the photos into Adobe Lightroom (LR) CC 2015 and made my image selections followed by my LR edits. Once I was happy in LR, I then moved over to Photoshop (PS) CC 2015 and started to play with the different backgrounds. The workflow is this. Export out of LR into PS, use the quick selection tool to select your subject, use the refine edge adjustment, apply a mask to the digital background of your choice and change the blend mode to overlay or softlight. I know that was the short version, but that is basically it.
I have been messing around with this process for a bit now and have come to realize that using just a plain old gray background gives you more options for design. If you are into photography and have some lights, I highly recommend you give this a go. As always, feel free to reach out to me for any questions.
Best,
Jon